Follow the guide below to pair devices to a Windows computer using Bluetooth.
1. Plug in the adapter
A Bluetooth icon should be visible near the system clock, or when clicking the small, white upward-pointing arrow near the system clock.
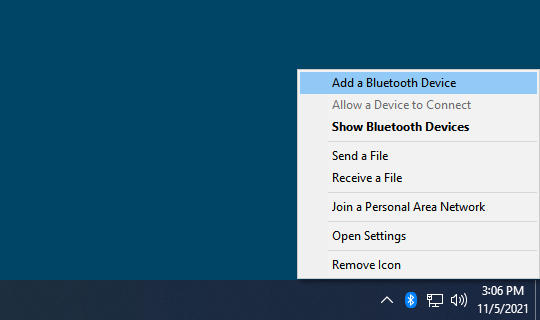
2. Click the Bluetooth icon
After clicking the Bluetooth icon, a menu should appear.

3. Choose “Add a Bluetooth Device”
4. Choose “Add Bluetooth or other device”
When the Bluetooth systems settings panel opens, choose the “Add Bluetooth or other device” button at the top of the window.

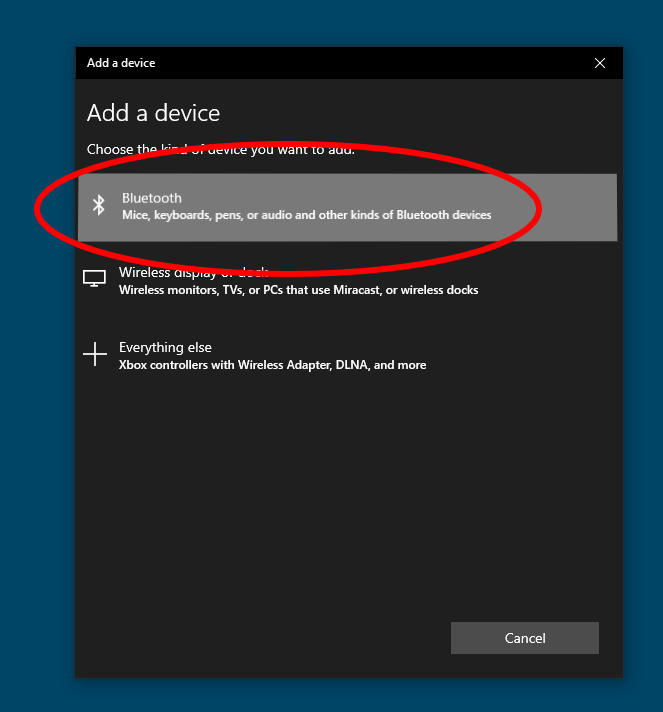
5. Choose “Blueooth”
When the “Add a device” screen appears, choose “Bluetooth” to start scanning for nearby devices.
6. Put your peripheral into pairing mode
The device you’re pairing to your PC will need to be in Pairing Mode to be discoverable by the PC. The steps to put your device into pairing mode vary, but should be available in the device’s manual, or from the manufacturer’s support site. Some devices have a dedicated “Pair” button, or a button with a Bluetooth logo. Some devices need to be powered on by holding the Power button for ten seconds.
When your device enters pairing mode, it may say the word “pairing”, and will probably blink rapidly.
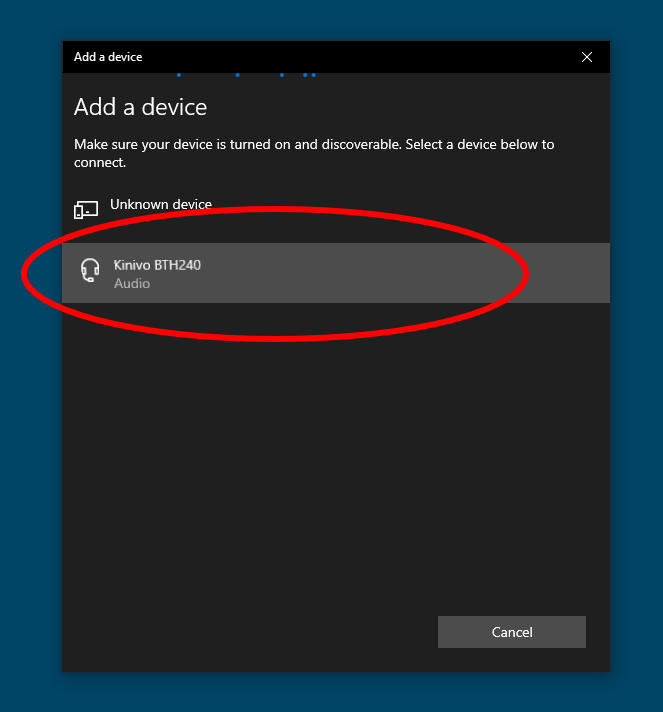
7. Choose your device
When your device becomes visible in the “Add a device” window, click on it to begin the pairing process.
When Windows is finished pairing, you should see the screen below:

Some devices may require a Pairing Code. If the device doesn’t provide a code, try entering “0000” or “1234”.